Backdate posting.
This was my second no-bake cheesecake, with Hershey chocolate syrup, in a heart-shape mould.
Nice? ^_^

Backdate posting.
This was my second no-bake cheesecake, with Hershey chocolate syrup, in a heart-shape mould.
Nice? ^_^
Backdate posting.
Again, this recipe was shared from my good friend, Ernice.
I have made the batter one day earlier.
Hubby has offered help by cooking and chopping up the peanut. In the end, he himself tried to cook a few pieces apam balik too, haha ^_^


Backdate posting.
Love this kuih and coincidentally my good friend Ernice has the recipe, big satisfaction to have made this but since hubby not so fancy about coconut related kuih/food, so i was the one who finished most of it, haha
Ingredients:
Corn flour 1/2 cup
Creamy corn in a can 1/2 cup
Coconut milk 1/3 cup
Fresh milk 1/4 cup
Sugar 3/4 cup
Water 2 cups
Method:
- Stir corn flour into 1/2 cup of water, set aside
- use remaining 1.5 cup water to cook together with sugar over low heat. Once sugar dissolved, add in corn flour, keep on stirring
- add in creamy corn, fresh milk, and coconut milk, keep stirring.
- when the mixture gets thicken, off the heat.
- pour the mixture into moulds, and refrigerate for few hours before serve
^_^

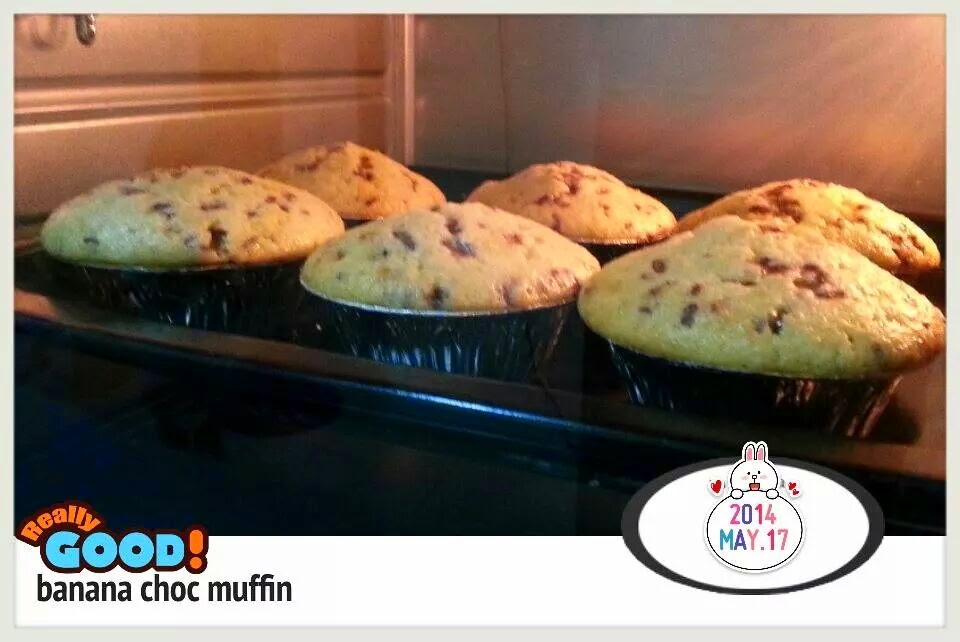
Ingredients
125g butter, room temperature
80g caster sugar
2 large eggs
1/2tsp vanilla extract
100g self-rising flour
80g mashed banana
30g chocolate rice
Method
1. Preheat the oven to 180C.
2. Put the butter and sugar in a mixing bowl, and beat together until light and fluffy.
3. Add egg one at a time, combine well.
4. Add in the flour and mashed banana, fold till well combine.
5. Add in chocolate rice, mix well.
6. Spoon the mixture into the paper cases.Sprinkle chocolate rice on top.
7. Bake the cupcakes in the oven for 20-25minutes, or until risen and firm to the touch.
8. Transfer to a wire rack and let cool.
^_^


Backdate posting.
做這檸檬鸡真是不簡單。連檸檬汁都要made from scratch, 忙東忙西的,兩个princess又要陪伴,又要關注,但幸虧我這supermum還handle得來,能夠弄出這碟非常非常好味的檸檬鸡。
說真的,真的好有成就感,haha...
